SV Unladen Swallow 2
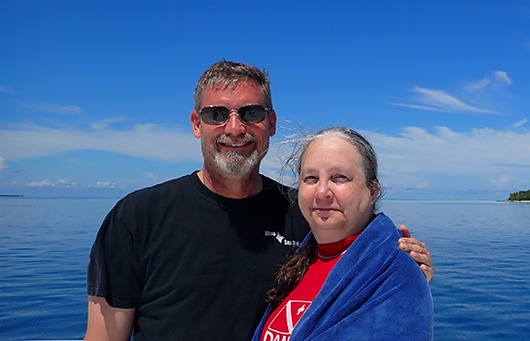
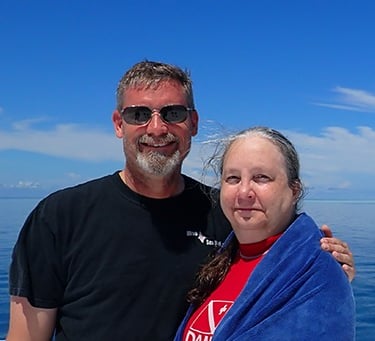
SV Unladen Swallow 2 is home to Lee & Brownie Hutchins . We retired early and sold everything to buy a 2002 Beneteau 47.7 First in December of 2020. Since then we have sailed almost 8,000nm and then on 1 July 2024, Hurricane Beryl found the boat sitting on the hard in Tyrell Bay Marina on the Island of Carriacou and knocked it to the ground catastrophically totaling it and disrupting our journeys for the better part of a year. Our original story is found here.
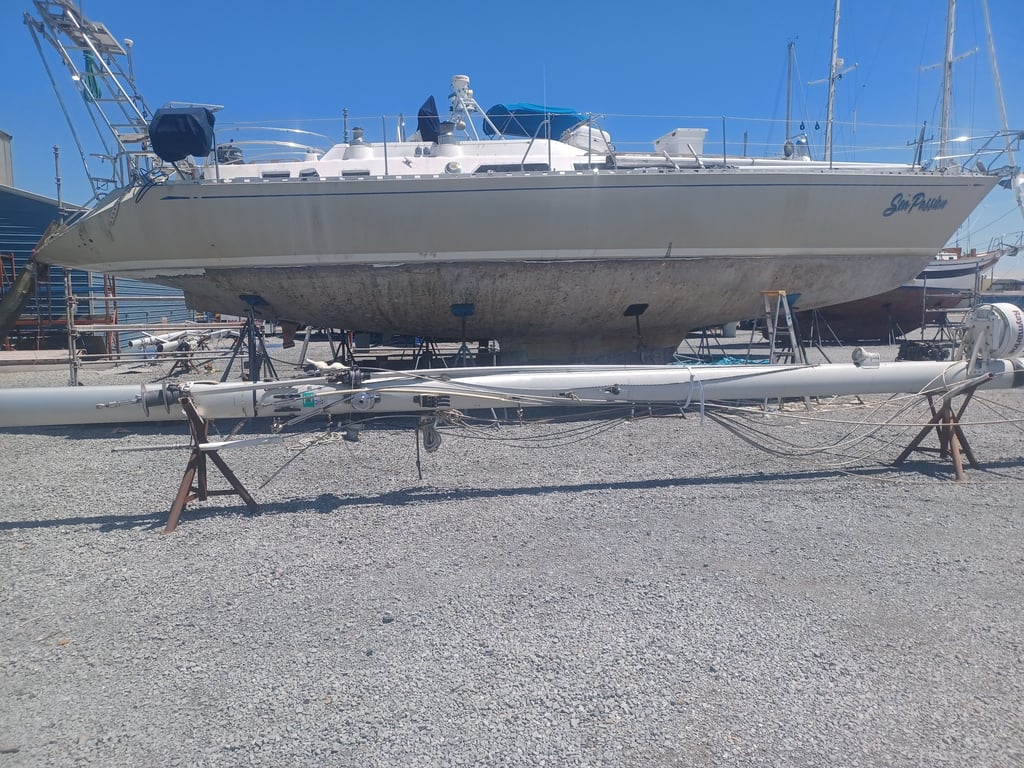
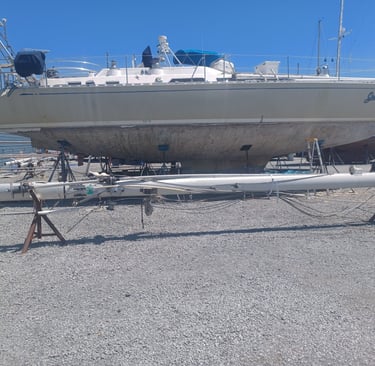
Our new boat is a 1990 Hylas 51. Like our previous boat, she has already circumnavigated. Unlike our previous boat, she has had multiple owners. And like our previous boat, she needs a bit (OK a lot) of TLC to modernize her and prepare her to be our new home. So most of the action for the next few months (It's now mid Feb) is going to be on the Refit area.
This site will provide the means to track our location in real time HERE. Allow us to share the LOG of our adventure – the great days, the good ones and the not so good ones …. nothing about this journey has gone to plan….
This site will also serve as a means to contact Lee (an SSI Instructor Trainer) for SCUBA DIVING INSTRUCTION as well as share Lee’s UNDERWATER PHOTOGRAPHY work.
We look forward to sharing our adventures with you!